
Configuring your home lab for network monitoring with ESXi

Monitoring your home network can be fun and insightful while at the same time providing a wealth of knowledge and experience. Here we will configure our physical network as well as our virtual network within VMware ESXi to achieve this. I am going to show you how to set up a home network which captures all network traffic coming in and going out. Setting up your home network for network monitoring opens up many doors for practicing in-demand cybersecurity skills within the realm of Security Operation Centers (SOC), Digital Forensics and Incident Response (DFIR), Cyber Threat Intelligence (CTI), and Threat Hunting.
Similar to enterprise network configurations, I like to keep the roles of my physical network devices separate except for firewall/router right now. You can see my high level network configuration in the diagram below which includes a firewall/router, switch, access point, and dedicated connections to my ESXi server. A dedicated NIC is required to receive a copy of all network traffic. From this NIC I will show you how to set up a network within ESXi where you will be able to connect multiple VMs (e.g. Security Onion, SELKS, HELK, any other IDS, Splunk) to play/practice with to receive, process, and analyze the traffic on your network. You should have at least one other NIC in your ESXi server for regular VM network traffic and the NIC configured to receive the copy of all network traffic should not be used for anything else.

The most important piece of hardware in this setup is the switch. You need a switch that has the ability to mirror or span a port. Port mirroring and SPAN (Switch Port Analyzer) are interchangeable. Having this ability will allow us to plug our firewall into one switch port and then configure a second port on the switch where copies of every packet to and from the firewall port will be sent. As long as no other devices are connected to the firewall you will be able to capture all traffic into and out of your network since it will all go through that port to the firewall and be copied to your mirror port.
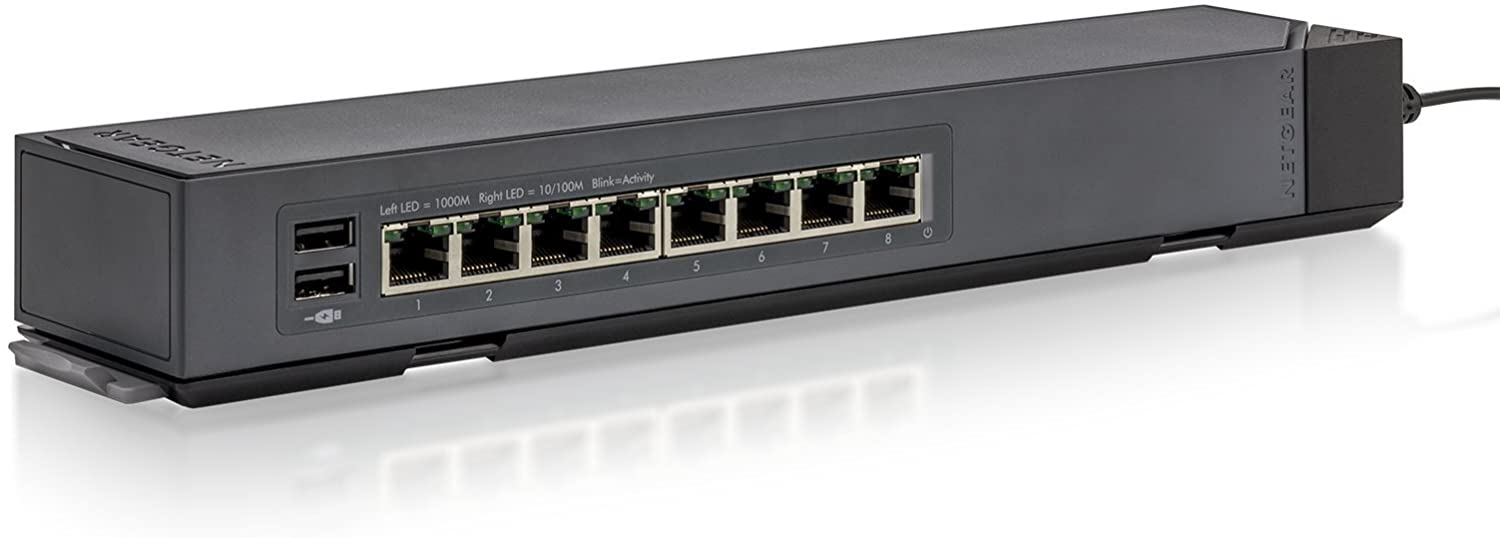
I chose the Netgear GSS108 since it was inexpensive, gigabit, and has a simple configuration interface. Netgear sells versions of this with more or less the ports. At the time the 8 port version was right for me, however, there may be an upgrade in my future but this has been working without issue for a couple years. Find the right switch that fits your needs.
Configuration
Let's get into the configuration. I will assume you have a firewall connected to your internet provider via a modem or other means. There will be no additional configuration on the firewall other than what you should already have in place for basic networking. Your firewall should be connected to a port on your switch which has the ability to mirror a port. The dedicated NIC for capturing network traffic, from your ESXi, host should also be connect to the switch.
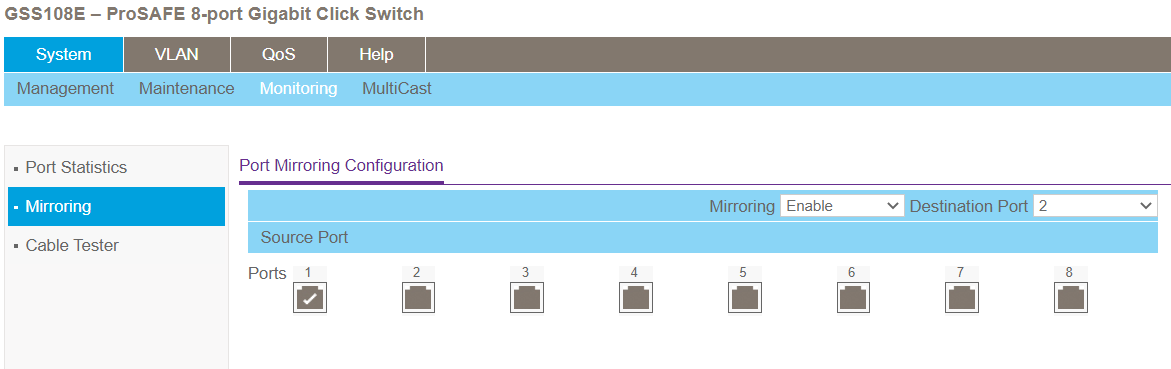
Switch configuration is simple in my case. Log into the management site of the switch, click on Monitoring, then Mirroring. Select enable from the dropdown menu. Under "Source Port" click the port where your firewall is connected (in my case port 1). Then select your destination port from the dropdown menu on the right (port 2 in my case), this should be the dedicated NIC in your ESXi host. Click apply and your all set!
The ESXi configuration is not as simple but still very easy. I am currently using ESXi 6.5 because that is what works best with my hardware but these instructions should be the same for most recent versions.
Within Networking on our ESXi host we will be performing the following:
- Create and configure a vSwitch
- Create and configure a port group
Create and configure a vSwitch
Under Networking, click the tab for Virtual Switches and click Add Standard Virtual Switch. Provide a name for your vSwitch, I use IDS, and expand the section for Security. Click Accept for Promiscuous mode. Click Add to finish.

Now click on the name of your newly created vSwitch and click Actions, then Add Uplink. Next to Uplink 1 select the network adaptor you have connected to the mirrored port on your switch and click Save.

Your vSwitch is now configured, let's configure your port group now. Click on Networking, then the Port Groups tab and click Add port group. Create a name for your port group, I use IDS here as well, and expand the section for Security. Ensure Promiscuous mode is set to Accept or Inherit from vSwitch, either will work as long as your switch is set to Accept in the previous step. Click Add to finish.

You're all set! Now you can select IDS from the dropdown for Network Adaptors in virtual machines where you want to add an interface to monitor network traffic. Below you can see the configuration for my Security Onion server which has one NIC for management (connected to the Servers port group) and one NIC for monitoring (connected to the IDS port group).

If you click on Networking, Port Groups, and then your new port group, you will be able to see all the VMs using that port group and vSwitch. Happy Network Monitoring!


thanks a lot! really useful stuff
ReplyDeleteThanks, great post.
ReplyDelete